.png)


This post describes how to install and remove the tools needed to program an image onto a TinyFPGA Bx and how to use the tools to program the board, It installs python-3.6.5-amd64-webinstall.exe, apio-0.4.0b5 and tinyprog-1.0.21.
Install
Install Python 3.6.5
1. Download python-3.6.5-amd64-webinstall.exe at [link] to your Documents folder

2. Double-click python-3.6.5-amd64-webinstall.exe to run it

3. Click Run

4. (A) Click the Add Python 3.6 to PATH checkbox and (B) click Install Now
You should see:

5. Click Close

Congratulations! You have successfully installed Python 3.6.5
Install apio-0.4.0b5 and tinyprog-1.0.21 (and system scons icestorm iverilog )
6. (A) Click Windows, (B) type cmd.exe and (C) click cmd.exe

7. Type pip install apio==0.4.0b5 tinyprog==1.0.21 in cmd.exe
You should see something like:
Install apio system scons icestorm and iverilog
8. Type apio install system in cmd.exe
You should see something like:
Install Serial Driver
9. Type apio drivers --serial-enable in cmd.exe
10. Click Yes on the Do you want to allow the following program to make changes to this computer window

11. Click Install on the Virtual Serial Driver screen

12. Click Done

After You should see the following in the cmd.exe window:
Connect the TinyFPGA Bx
13. Connect the USB cable to the PC

14. Connect the

You should see the Pwr LED lit and the Boot LED blinking:
15. Type apio system --lsserial
You should see something like:
Program your bitstream
16. Type tinyprog -p Documents\bitstream.bin
Uninstall All
1. (A) Click Windows, (B) type cmd.exe and (C) click cmd.exe
Uninstall Serial Driver
2. Type apio drivers --serial-disable
You should see:
...and

There is no device present. Close the device manager. (TODO figure out what's actually happening here)
Unistall apio system
3. Type apio uninstall system
You should see:
4. Type y
You should see:
Uninstall apio-0.4.0b5 and tinyprog-1.0.21
5. Type pip uninstall apio tinyprog
You should see:
6. Type y to proceed
You should see:
7. Type y to proceed again
You should see:
Uninstall Python 3.6.5 (64-bit)
8. (A) Click Windows, (B) type Uninstall a program and (C) click Uninstall a program

9. (A) Right-click on Python 3.6.5 (64-bit) and (B) click Uninstall

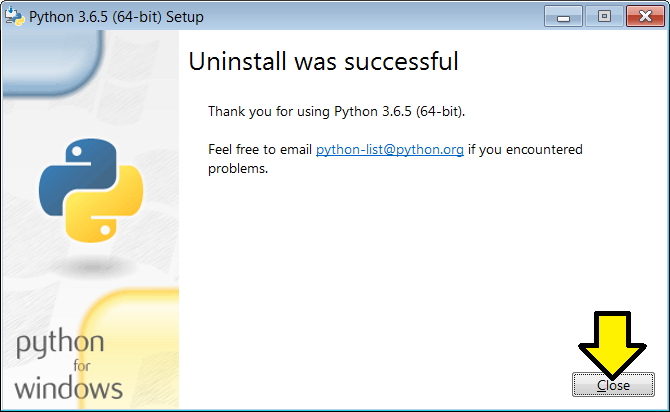
You should see:

10. Click Close
Reference
TinyFPGA BX User Guide at [link]