.png)

Create an Android Project and Run the Project with Android Studio
- Zach Pfeffer
- Jan 14, 2019
- 1 min read
Updated: May 14, 2023

This post runs through the online guides from Google to Create an Android project and Run your app.
Create an Android Project
1. Start Android Studio
2. (A) Click File, (B) New and (C) New Project...

3. Use:
Application name: My First App
Company domain: example.com
...leave all other settings and click Next

4. (A) Select API 28: Android 9.0 (Pie) and (B) click Next

5. (A) Leave Empty Activity selected and (B) click Next

6. Leave the settings in the Configure Activity screen and click Next

7. Click Finish

You'll see some processing:

...and

8. (A) Click View, (B) click Tool Windows and (C) click Project (or press Alt+1)

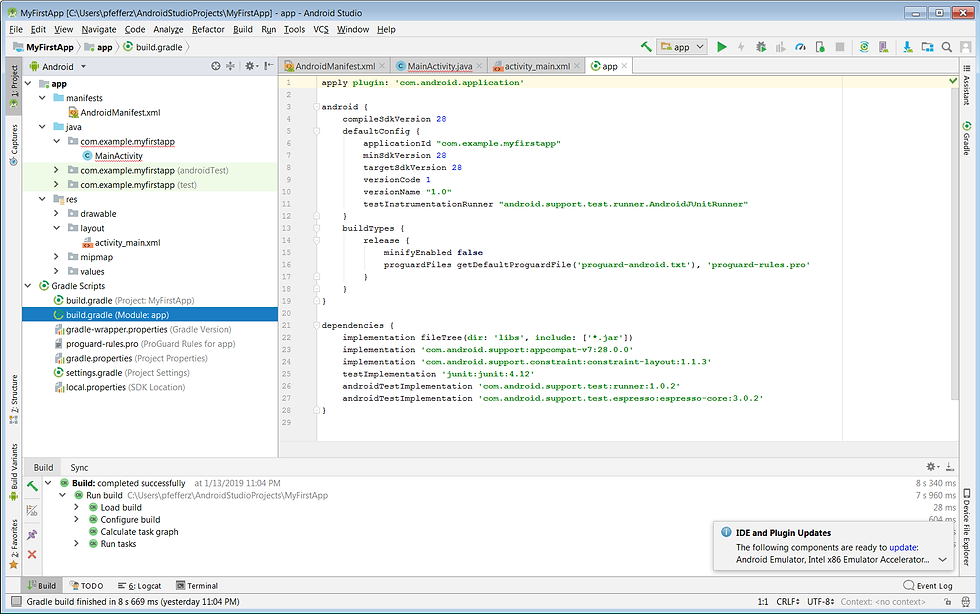
9. Find app > manifests > AndroidManifest.xml

10. Find app > java > com.example.myfirstapp > MainActivity

11. Find app > res > layout > activity_main.xml

12. Find Gradle Scripts > build.gradle (Module: app)
Run the App on an Emulator
1. (A) Click Run then (B) click Run 'app'

2. Click Create New Virtual Device

3. (A) Click Pixel and (B) Next

4. Click Download by Pie

You'll see:

5. Click Finish

6. Click Next

7. Leave the defaults and click Finish

8. With Pixel API 28 selected click OK

After a (long) bit you'll see:

9. Click, hold and pull up

10. Click on My First A...

After some time you'll see:

References